


Step 1.
Download the following tools:
Step 2.
Step 2.1
Follow the guide located here to unlock your bootloader, do this before continuing with the rest of this guide it is important to have your stock firmware rooted for this step.
Step 2.2
Unzip flashtool to its own folder e.g. /Flashtool/.
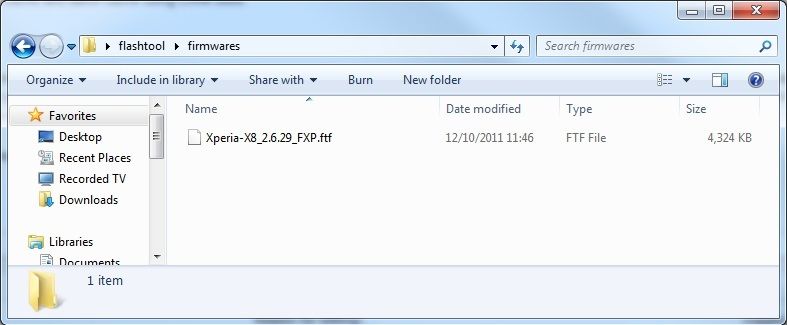
Unzip FXP030 kernel to the Flashtool/firmwares/ folder - the directory should look like this:
Step 3.
Step 3.1
Open Flashtool and click on the 'Flash' button, select the FXP firmware from the list on the left hand side and click OK.

Step 3.2
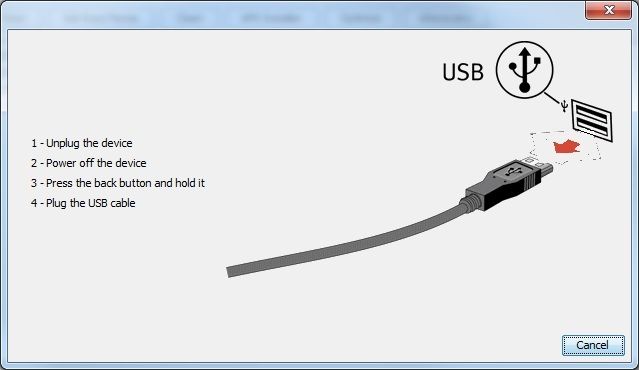
Follow the on screen instructions.
Step 4.
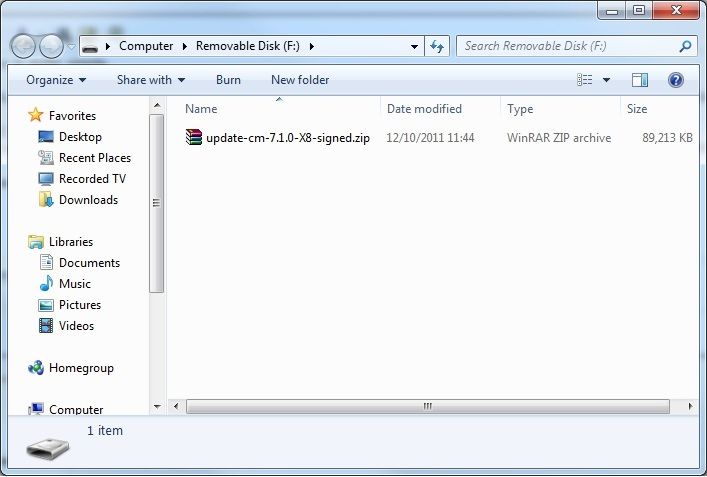
Copy the update-cm-7.1.0-X8-signed.zip to the root of your MicroSD Card as shown below. (Please note that you can do this using a MicroSD Card reader OR your USB cable.
If you do not have a card reader then switch your phone on after flashing the FXP kernel and when you see the FreeXperia logo, repeatedly press the Back button until CWM loads. Once CWM has loaded scroll down to the Mounts and Storage menu. Once on the mounts and Storage menu scoll down to mount USB Storage and copy the update-cm-7.1.0-X8-signed.zip file to the root of the SD card.
Step 5.
Load CWM via the method described in Step 4 and select 'Install Zip from SD card.' then select 'Choose Zip from sdcard' and select the update-cm-7.1.0-X8-signed.zip that you copied over to the root of the SDCard in the previous step, Select the yes option using the volume buttons and let CWM work its witchcraft.
Step 6.
Go back to the main menu of CWM and select 'wipe data/factory reset'.
Next from the main menu of CWM select 'wipe cache partition'.
Finally from the main menu of CWM select 'Advanced' and 'wipe dalvik cache.
Optional
If you want the google apps installed you can download them here. To install them perform Step 4 through to Step 5 and instead of copying 'update-cm-7.1.0-X8-signed.zip' to the root of your sdcard, copy gapps-gb-20110613-signed.zip instead. All instructions in Step 4 and Step 5 that state you should use 'update-cm-7.1.0-X8-signed.zip' should use the file 'gapps-gb-20110613-signed.zip' instead.
Notes:
I'm having issues with the networking with this custom firmware, specifically the network (3G or WiFi) seems to 'drop' after any amount of small usage. If I use a Browser or the Market place for a short amount of time, they simply end up unable to load any pages whilst android reports that wifi/3g signal strengths are full. I tested the connectivity using ping commands from terminal and pings are succesfull. I'm unsure where the issue lies. I suspect however the issue is in the FXP Kernel, some people have reported using FXP 028 Kernel resolves the issues but I've been unable to find them.
Anyway I hope this helps people who are confused as to how to install this.
No comments:
Post a Comment